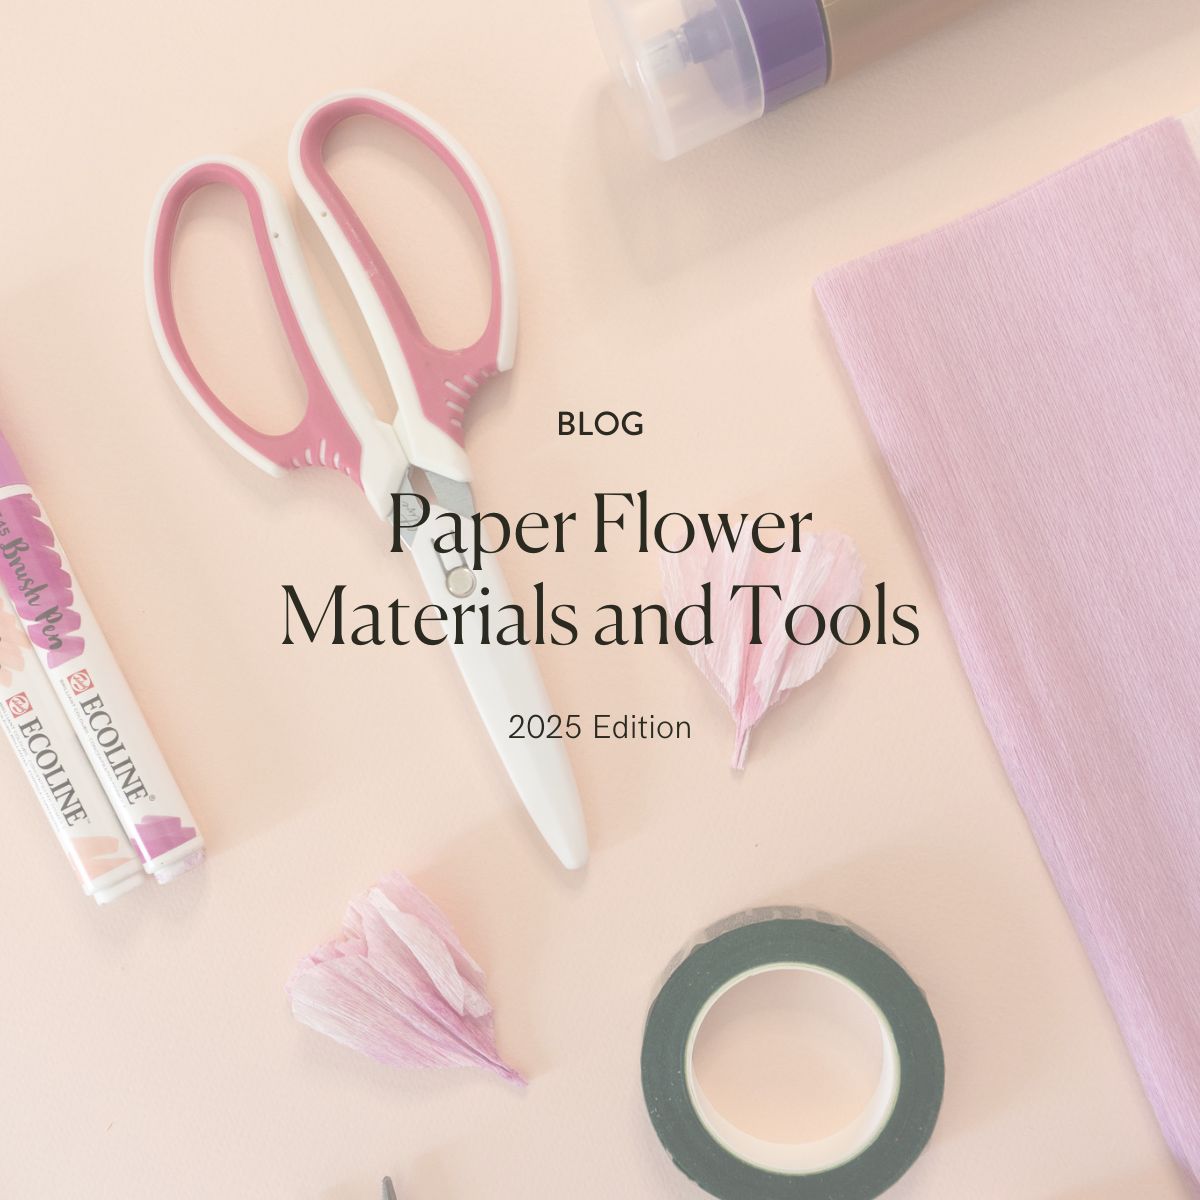
Paper flower-making supplies include various tools and materials for crafting beautiful, handmade blooms. To make paper flowers, you'll need paper in different colors and textures, floral wire, floral tape, scissors, and adhesive. Our paper flowers are typically made of Italian and German crepe paper allowing for vibrant, realistic results. These materials help create intricate, long-lasting flowers perfect for decorations, events, or gifts.
Creating paper flowers is rewarding, and having the right materials makes all the difference. Here’s a rundown of the tools and supplies I use to craft beautiful blooms.
1. Crepe Paper

At our studio, we primarily work with Italian and German crepe paper to make our flowers. For some custom projects, we also use cardstock paper.
Italian and German crepe paper is stretchy and has a fabric-like texture. It comes in various weights, and each supplier offers different colors and quality. Here’s where you can find some of the best crepe papers for your projects:
1.1 Cartotecnica Rossi
This is where most of our paper comes from. They offer a variety of weights and colors. Based in Italy, they ship internationally.
1.2 Carte Fini
Located in the U.S., Carte Fini ships quickly from San Diego. They carry almost everything available at Cartotecnica Rossi.
1.3 Rose Mille
For German crepe paper (they offer it in 160 grams) and Doublettes, this is my go-to. German crepe is a bit different from Italian, so it’s worth experimenting with different weights to see what works best for your flowers. I love using Doublettes for orchids because of their smooth texture.
1.4 Crepe Paper Crafts
This Canada-based vendor carries products from Cartotecnica Rossi as well as other paper flower accessories.
1.5 PaperMart
PaperMart carries a wide range of paper products, from packaging materials to ribbons. Their crepe paper is not as high quality as Italian or German varieties, but I still use it for some projects, especially when I need a wider range of colors.
1.6 Blick Art: Lia Griffith Crepe Paper
Blick Arts is a great option if you're in NYC and need crepe paper in a pinch. They offer various color palettes, making picking up what you need easy.
1.7 Lia Griffith Crepe Paper (Amazon)
If Blick Art doesn’t have the exact colors you’re looking for, Amazon carries Lia Griffith’s crepe paper too. This is a great choice if you’re just starting and want to test out different color options. Her collections include packs like Heavy Crepe Paper in "English Garden," "Tropical Garden," and "Botanical Garden" for flowers like Ranunculus and Anemones.
2. Floral Wires

Choosing the right wire is crucial for your paper flowers, as it affects how each element will hold up. For example, a sunflower needs a thicker stem to support the heavy flower head and leaves. For leaves that need to bend naturally, a lighter gauge like 22 or 24 works best, while for stable leaves, a 20-gauge wire is more suitable.
At the end of the day, it’s all about personal preference and the look you want for your creation.
2.1 Paper-Wrapped Stem Wire (18 Gauge)
I use this wire for larger flowers like sunflowers or hydrangeas. It’s sturdy enough to support a thicker stem, especially when adding multiple leaves.
2.2 18-Gauge Wire
This wire is perfect for regular flowers like peonies, roses, ranunculus, or tulips. It provides enough strength to hold the flower head and some leaves.
2.3 20-Gauge Wire
This is my go-to for larger leaves that need extra durability but should still be bendable.
2.4 22- and 24-Gauge Wires
These lighter wires are great for smaller elements like flower buds, pistils, and filaments. I use them for leaves as well when I need a delicate touch.
Most wires come in green, brown, or white, so choose based on your paper color. For orchids, for example, I use 22- or 24-gauge white wire to ensure it doesn’t show through the paper.
3. Floral Tape
Floral tape is sticky, and to activate the adhesive, you just need to stretch it lightly. While I don’t personally love the tackiness of floral tape, I’ve come up with a workaround: I cut green paper into small strips to use as floral tape. However, if you’re just starting, floral tape is a great and easy solution.
4. Scissors & Other Cutting Tools

Cutting crepe paper is different from cutting regular paper, so it's essential to use sharp scissors that won’t damage the paper. Here are my favorite tools:
4.1 Gingher and Kai 5210 Scissors
These are my go-to scissors for most of my flowers. They’re perfect for cutting petals, leaves, and styling details.
4.2 Beaditive Multipurpose Scissors
I use these for smaller petals, like those on hydrangeas, or for fine detail work on leaves and other small elements.
4.3 Fiskars Micro-Tip Action Scissors
These scissors are fantastic for cutting fringes, especially when I need to cut a lot of them at once.
4.4 Rotary Cutter
This cutter helps me turn rolls of crepe paper into sheets. Be sure to use it with a cutting mat to protect your work surface.
4.5 Swingline Paper Cutter, Guillotine Trimmer
When preparing for a big project, this trimmer is a huge time-saver. I often use it to cut paper when teaching workshops.
4.6 Wire Cutter
It’s best to use a wire cutter for cutting wire, as it can damage regular scissors. A basic wire cutter and plier combo is ideal, though you can also opt for a heavy-duty version for larger jobs.
5. Glue

The type of adhesive you choose will depend on the paper you're using, how you want the elements to be placed, and the scale of your flower.
5.1 Tacky Glue
This is my go-to glue. It dries clear and works great for most projects. It comes in a squeezable bottle, which makes it super convenient to use.
5.2 Sobo Glue
A thicker fabric glue is often used in pop-up books. It dries clear and is great for projects where you need a stronger bond.
5.3 Hot Glue Gun
For fast-drying adhesive, a hot glue gun is perfect. It’s ideal for flowers that require precise positioning, like roses or ranunculus, and for large-scale flowers, as you won’t have to wait for the glue to dry.
5.4 3M Adhesive Spray
I use this for laminating techniques with 60 and 90-gram papers. Be sure to use it in a well-ventilated area, and let the paper air out for a few hours or overnight, as it has a strong chemical smell.
5.5 Glue Stick
A great alternative for laminating, especially with 60 and 90-gram papers. It takes longer than spray adhesive, but it’s a cleaner option.
6. Coloring Mediums & Tools

The coloring tools you choose can affect the look of your flowers. Here are my favorites:
6.1 Watercolor + Aquash Water Brush
A fun and forgiving way to add color. I recommend Ecoline Liquid Watercolor, and you can either use the brushes that come with the set or try a Pentel Aquash water brush.
6.2 Acrylic
For a bolder look, I use acrylics. You can find various brands at Michael’s, Blick Art, or Amazon.
6.3 Soft Pastels + Applicators
Soft pastels are perfect for a natural look. I prefer Pan Pastels because of the quality, though they are pricier. You’ll also need an applicator tool or blending brush. If using pastels, be sure to run an air filter, as the dust can be harmful if inhaled.
6.4 Alcohol Ink
Alcohol ink is a fun way to add unique patterns to your flowers. Test it out on a scrap piece of paper first to see how it interacts with crepe paper.
6.5 Watercolor Pens
For beginners, watercolor pens like Ecoline, Tombow, or Copic are a great way to add color without the mess.
6.6 Design Master Floral Dye
This is perfect for large-scale projects or coloring flowers in bulk. It’s easy to use but has a strong chemical smell, so be sure to use it in a well-ventilated area.
This list should cover most of the materials you need for paper flower making. The key is to define your project’s needs, your budget, and the space you have for each tool. It might feel overwhelming at first, but start small and build your skills over time. I hope this guide helps you! If you have any questions or thoughts, leave them in the comments below!